Products
Learn how to create and sell your products on kobocourse
With kobocourse, you can create and sell your online coaching products easily. We support a wide range of product types including;
- Online Courses
- One-on-one & Group Coaching
- Online Tickets
- Downloadables (Coming Soon)
- Memberships (Coming Soon)
How to create your product
Creating and selling your online coaching products on kobocourse is super simple, here is how to go about it.
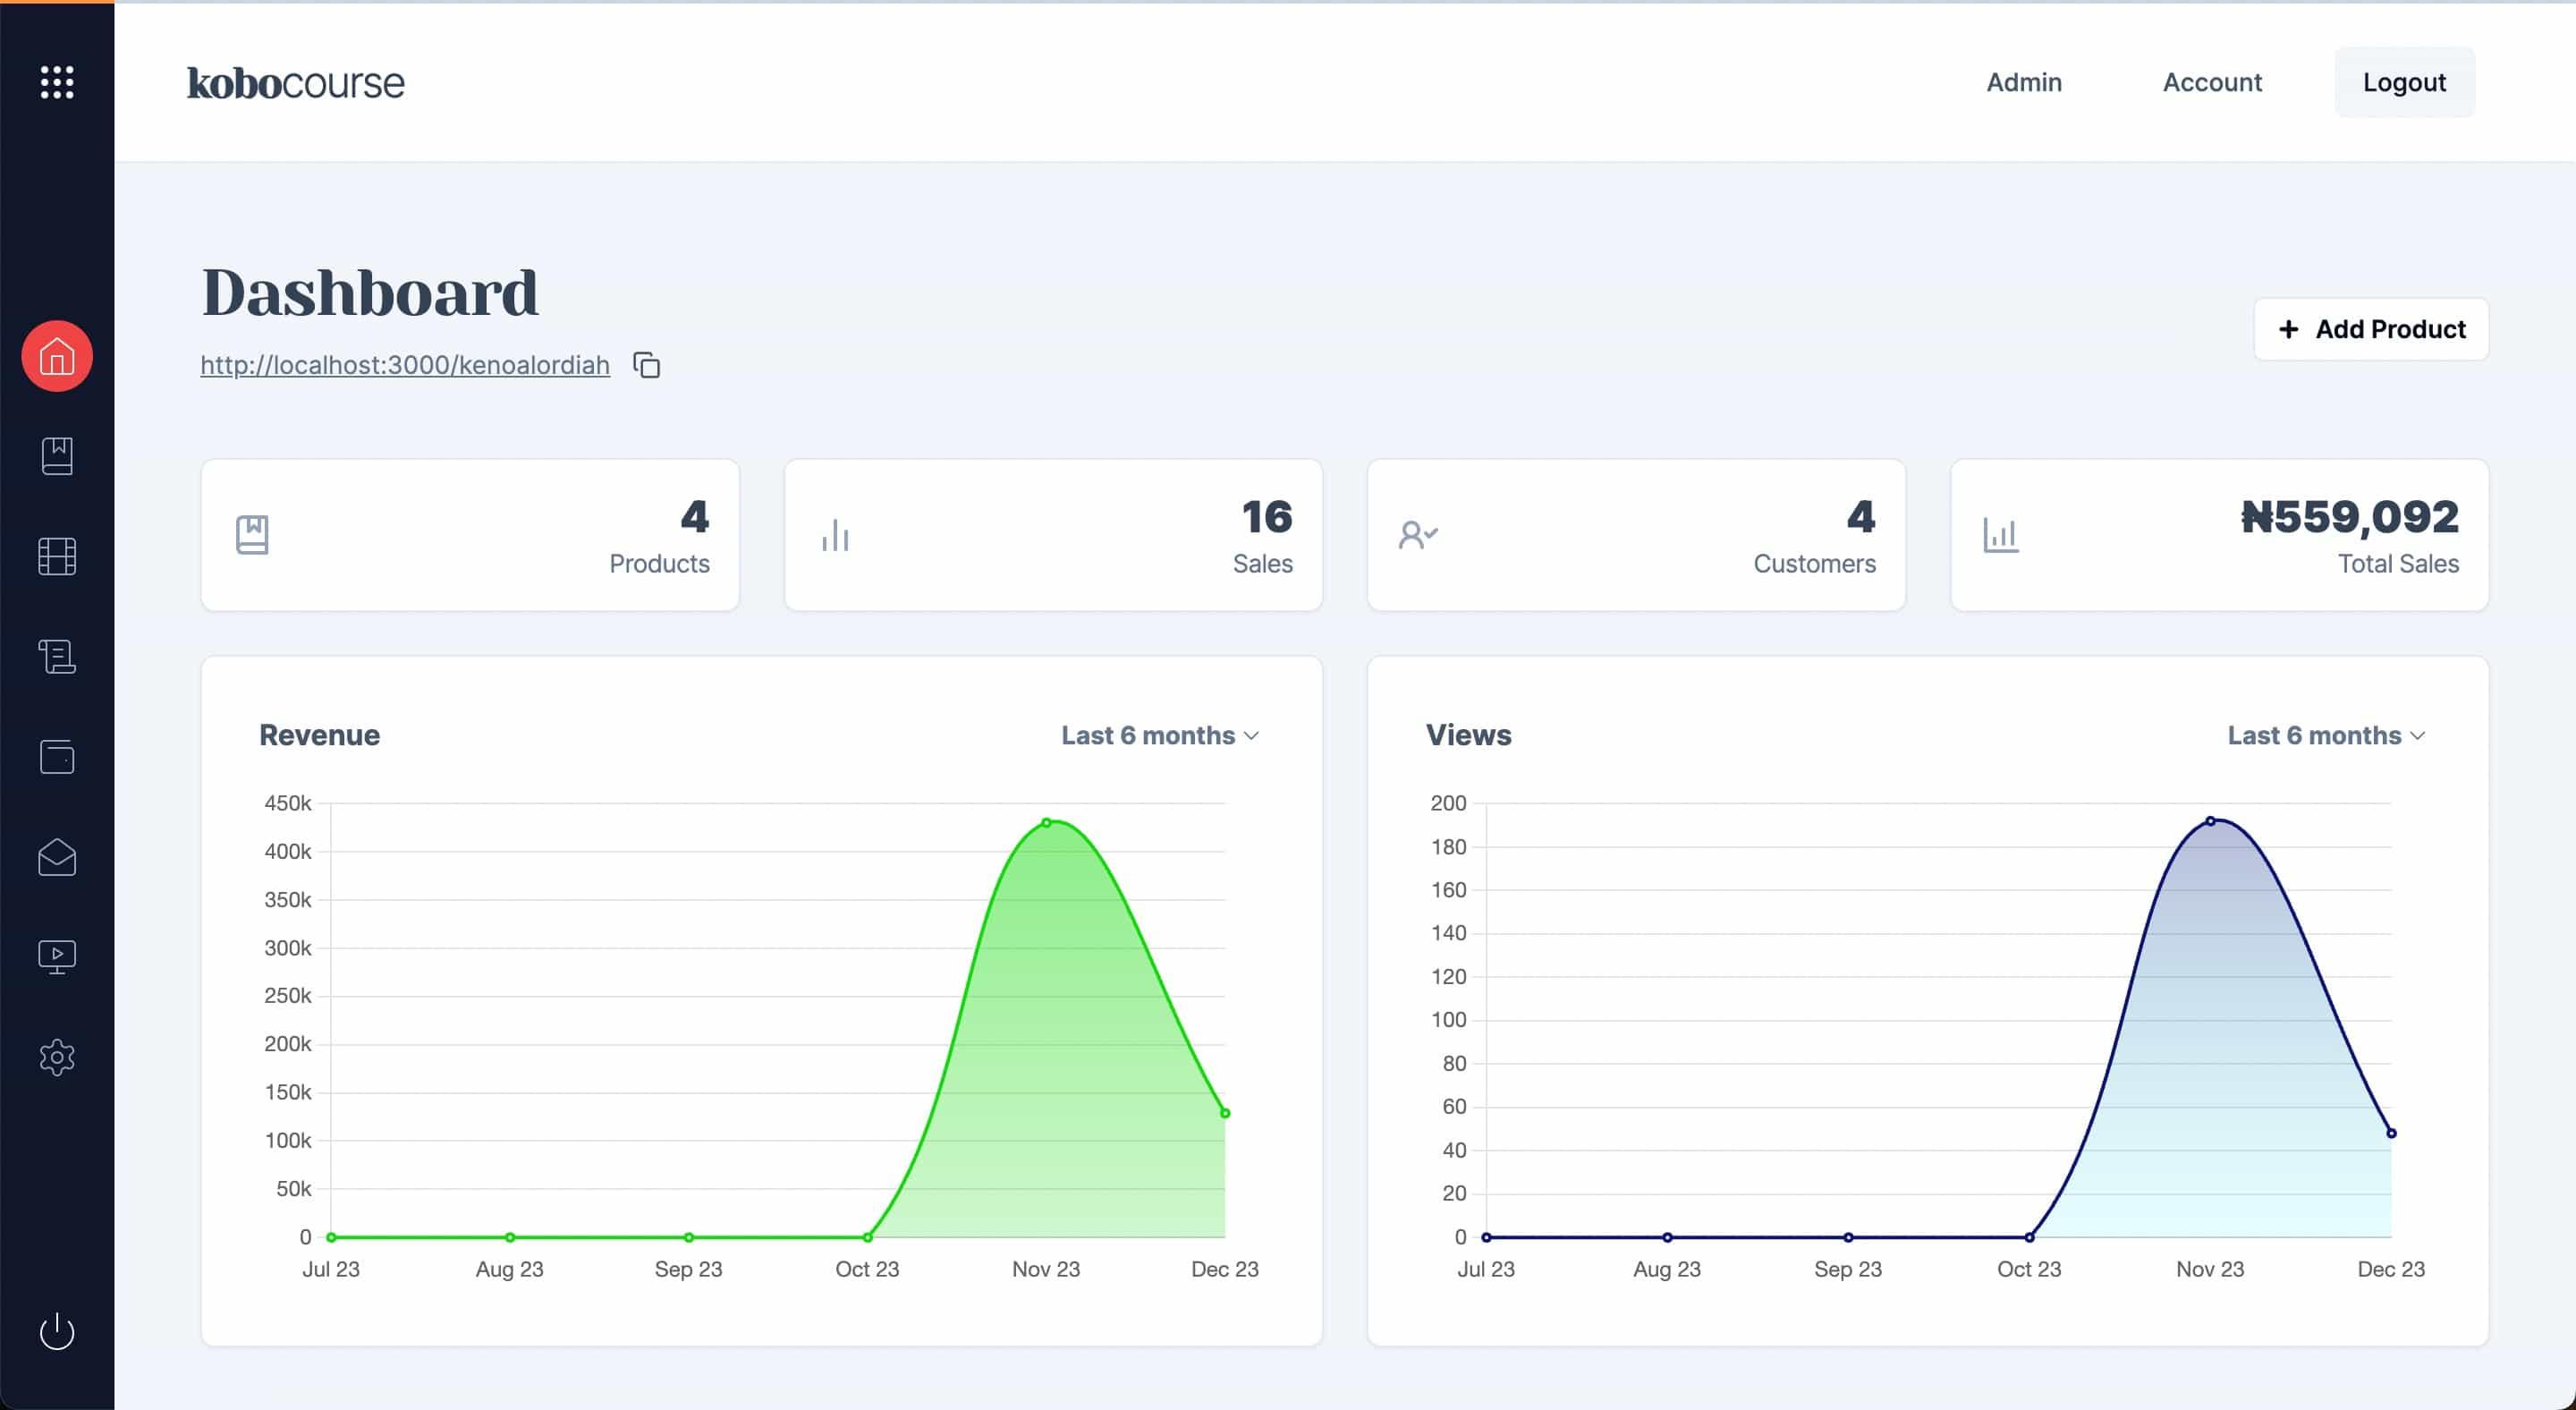
To create your product, simply create an account or login to your existing account. Once you are logged in and on your dashboard, click on the Add Product button to get started.
Creating your products
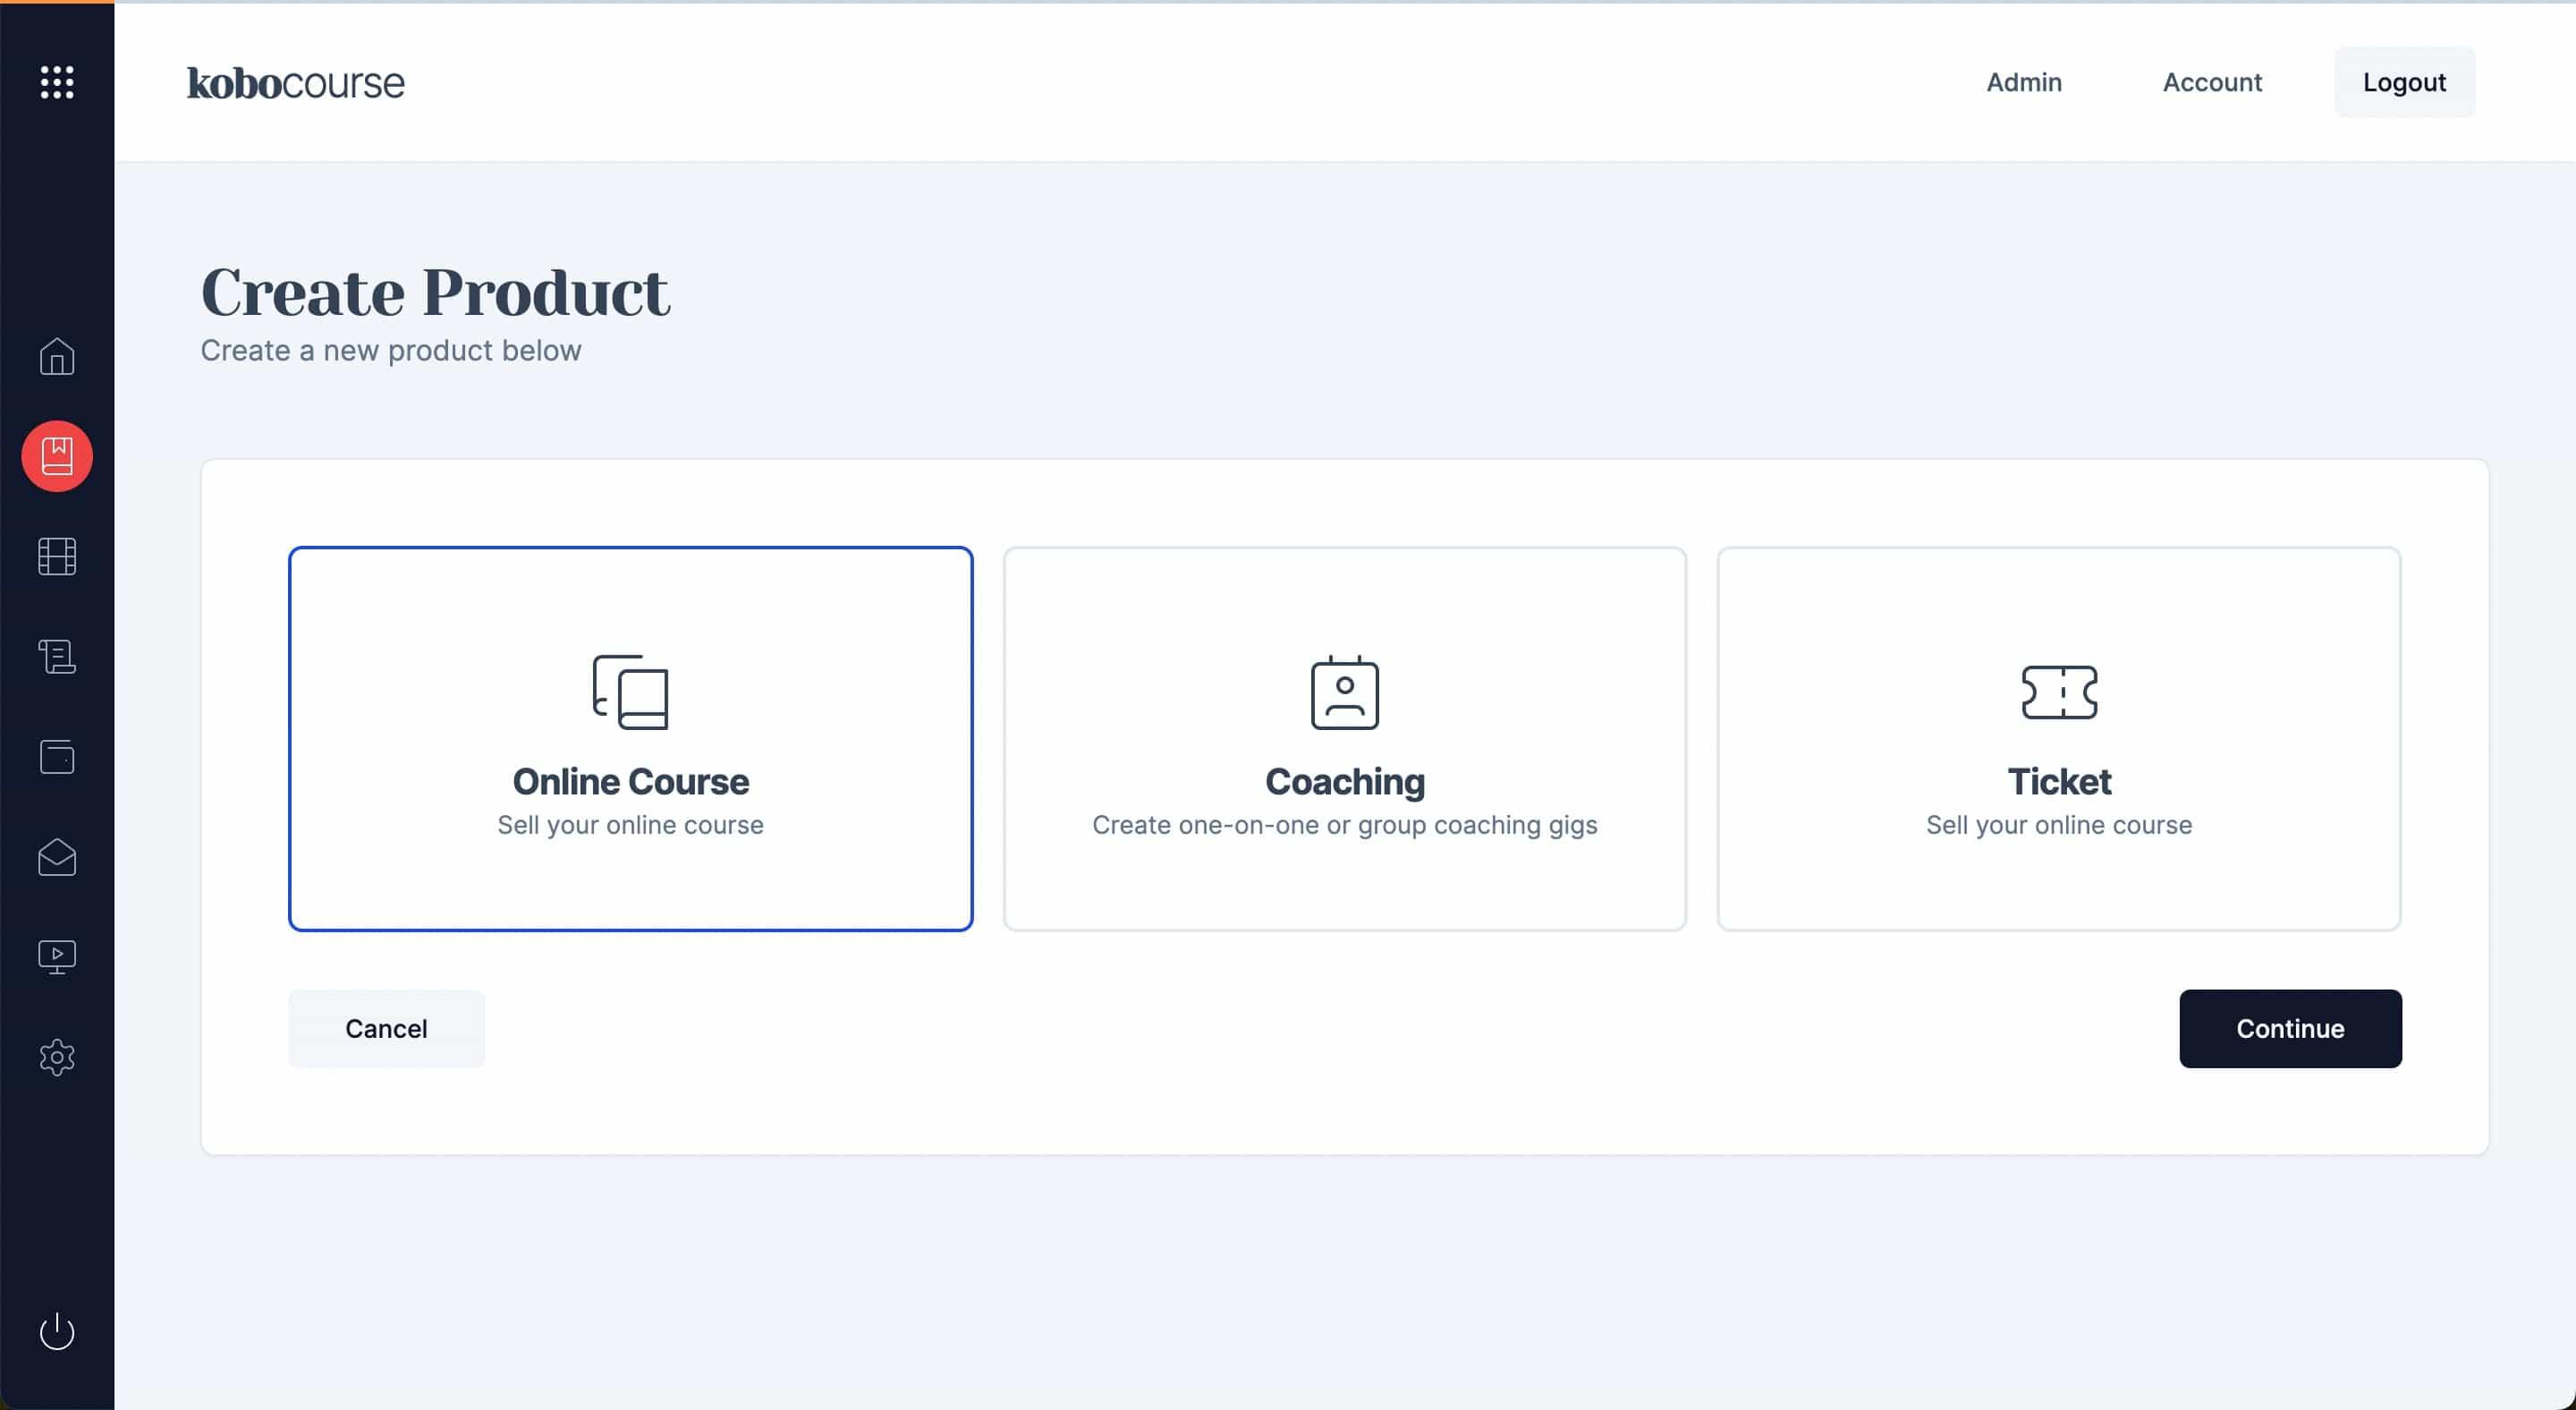
First, choose the type of product you'll like to create. This can be an online course, a one-on-one or group coaching gig or an online ticket to your workshop, webinar or physical training and click on continue.
Product information
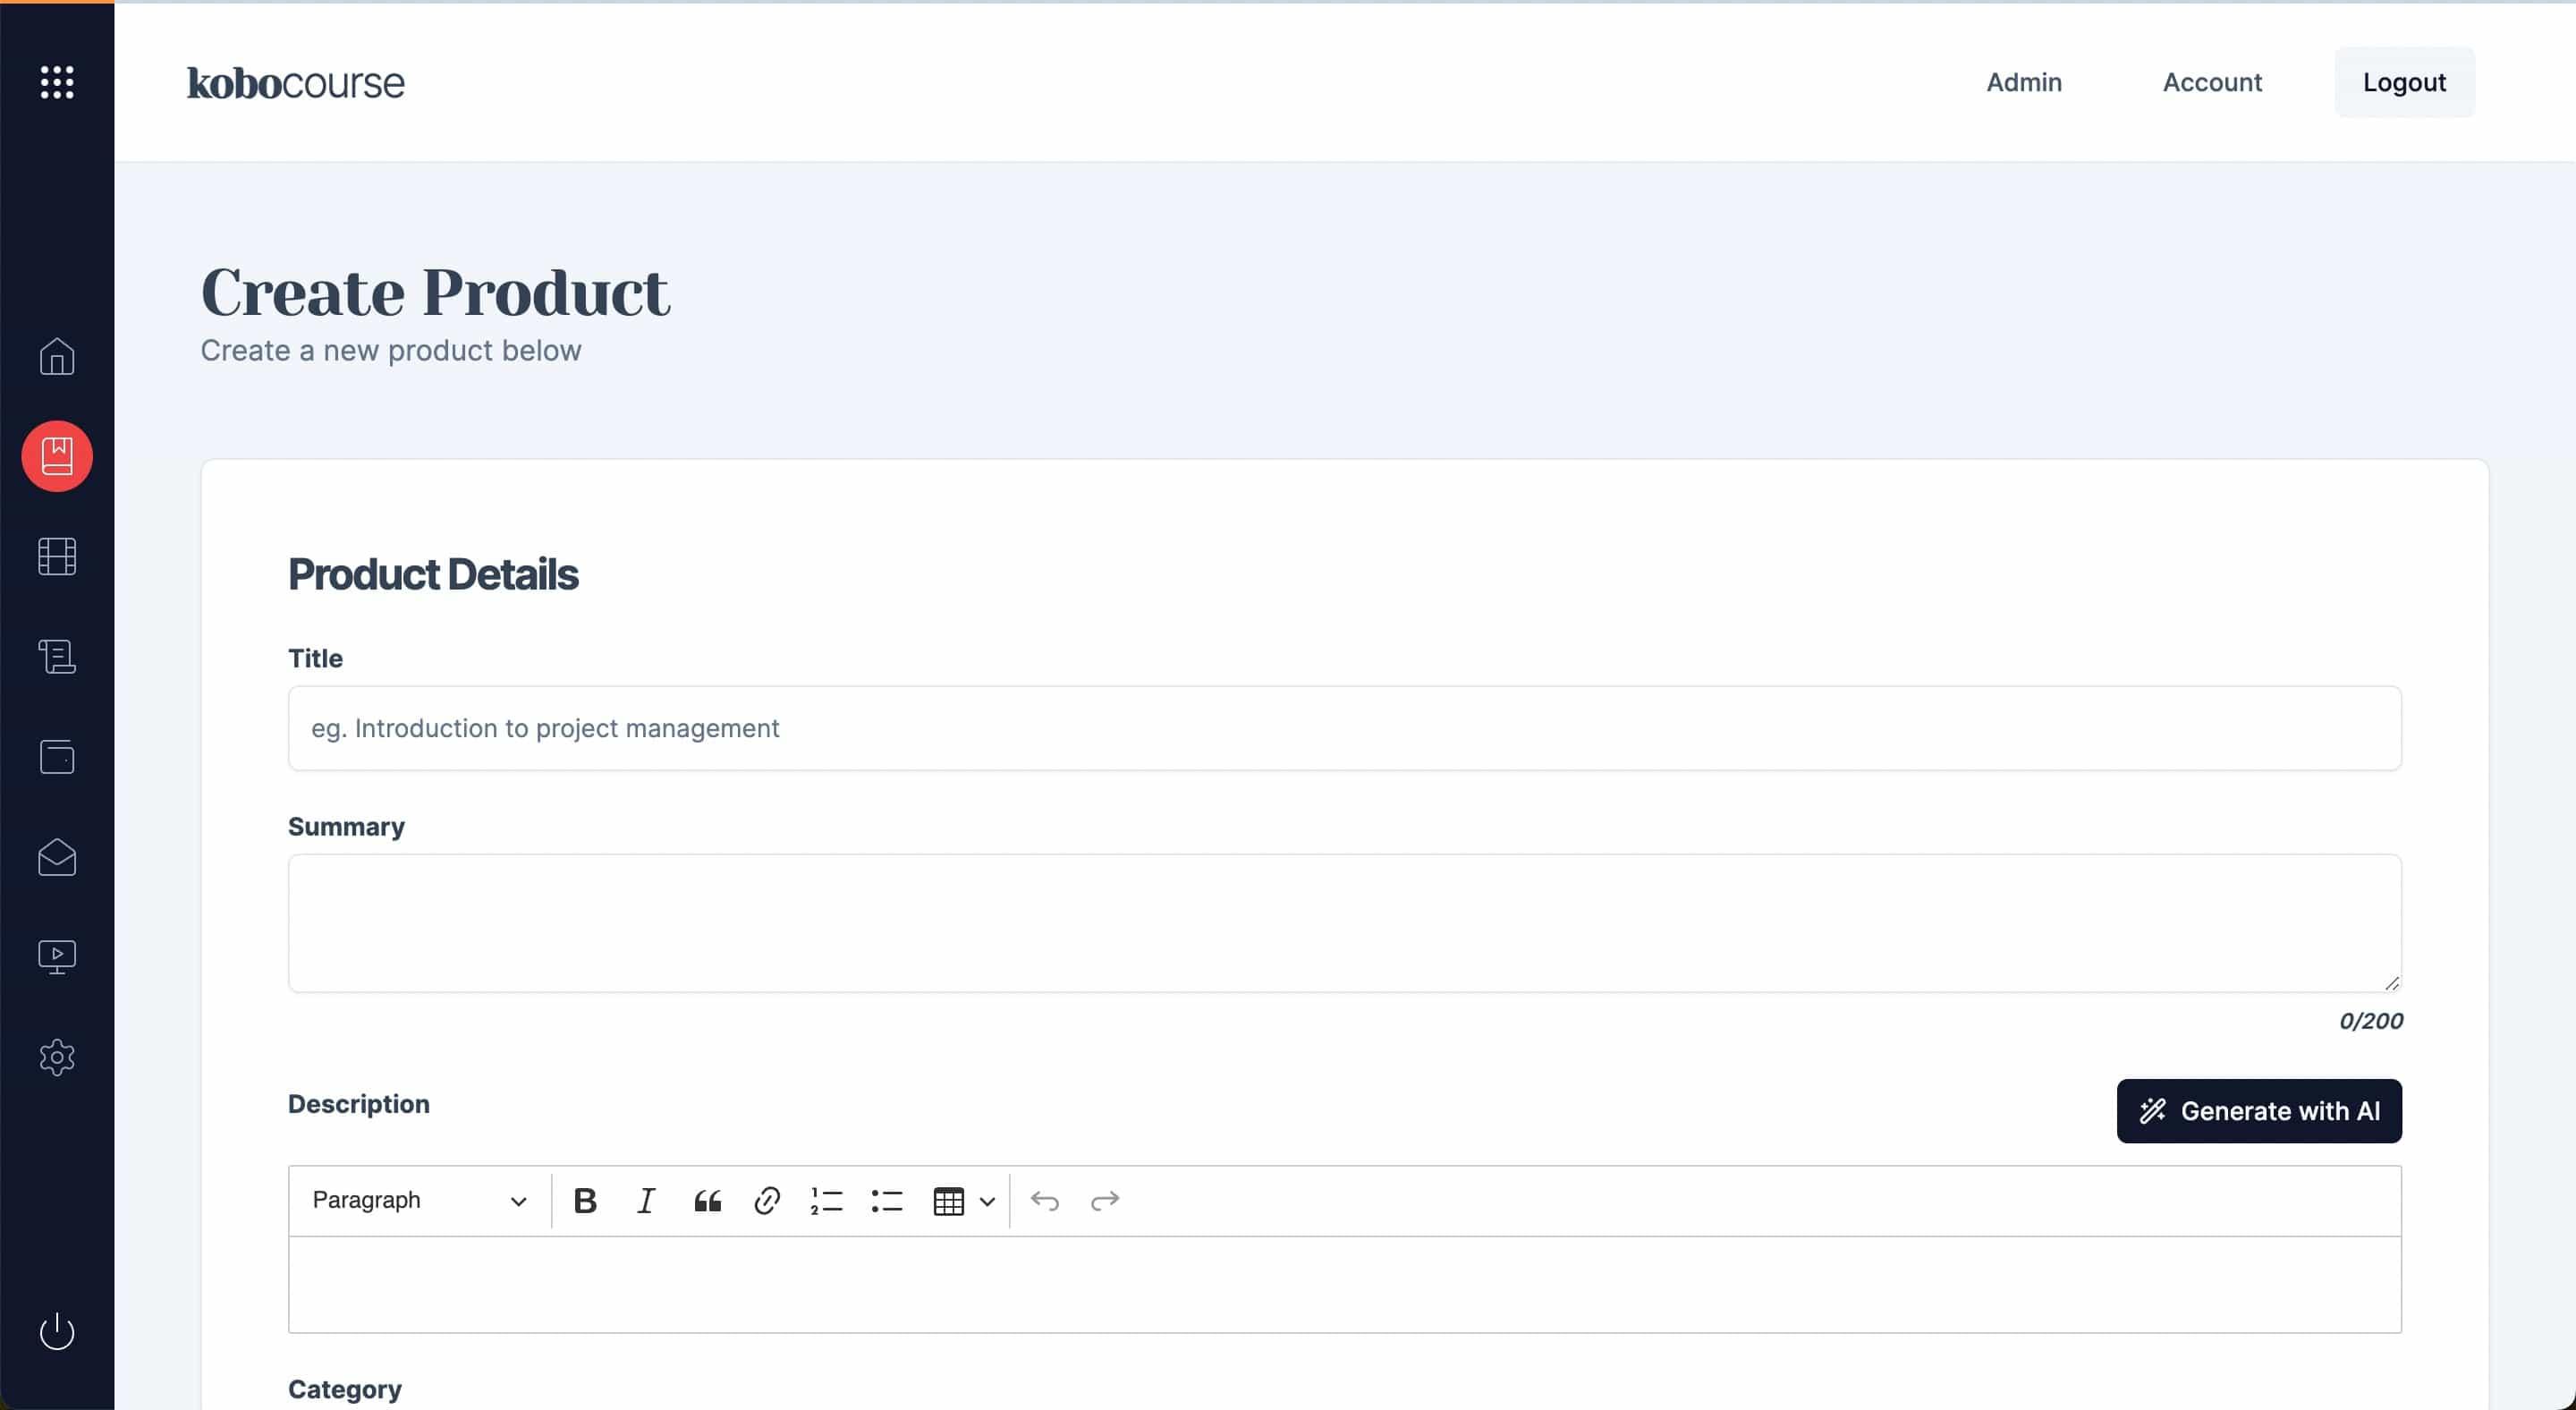
Provide your product information such as the title of your product, a brief summary of the product (required for SEO purposes), your product description, category and price.
Product Media
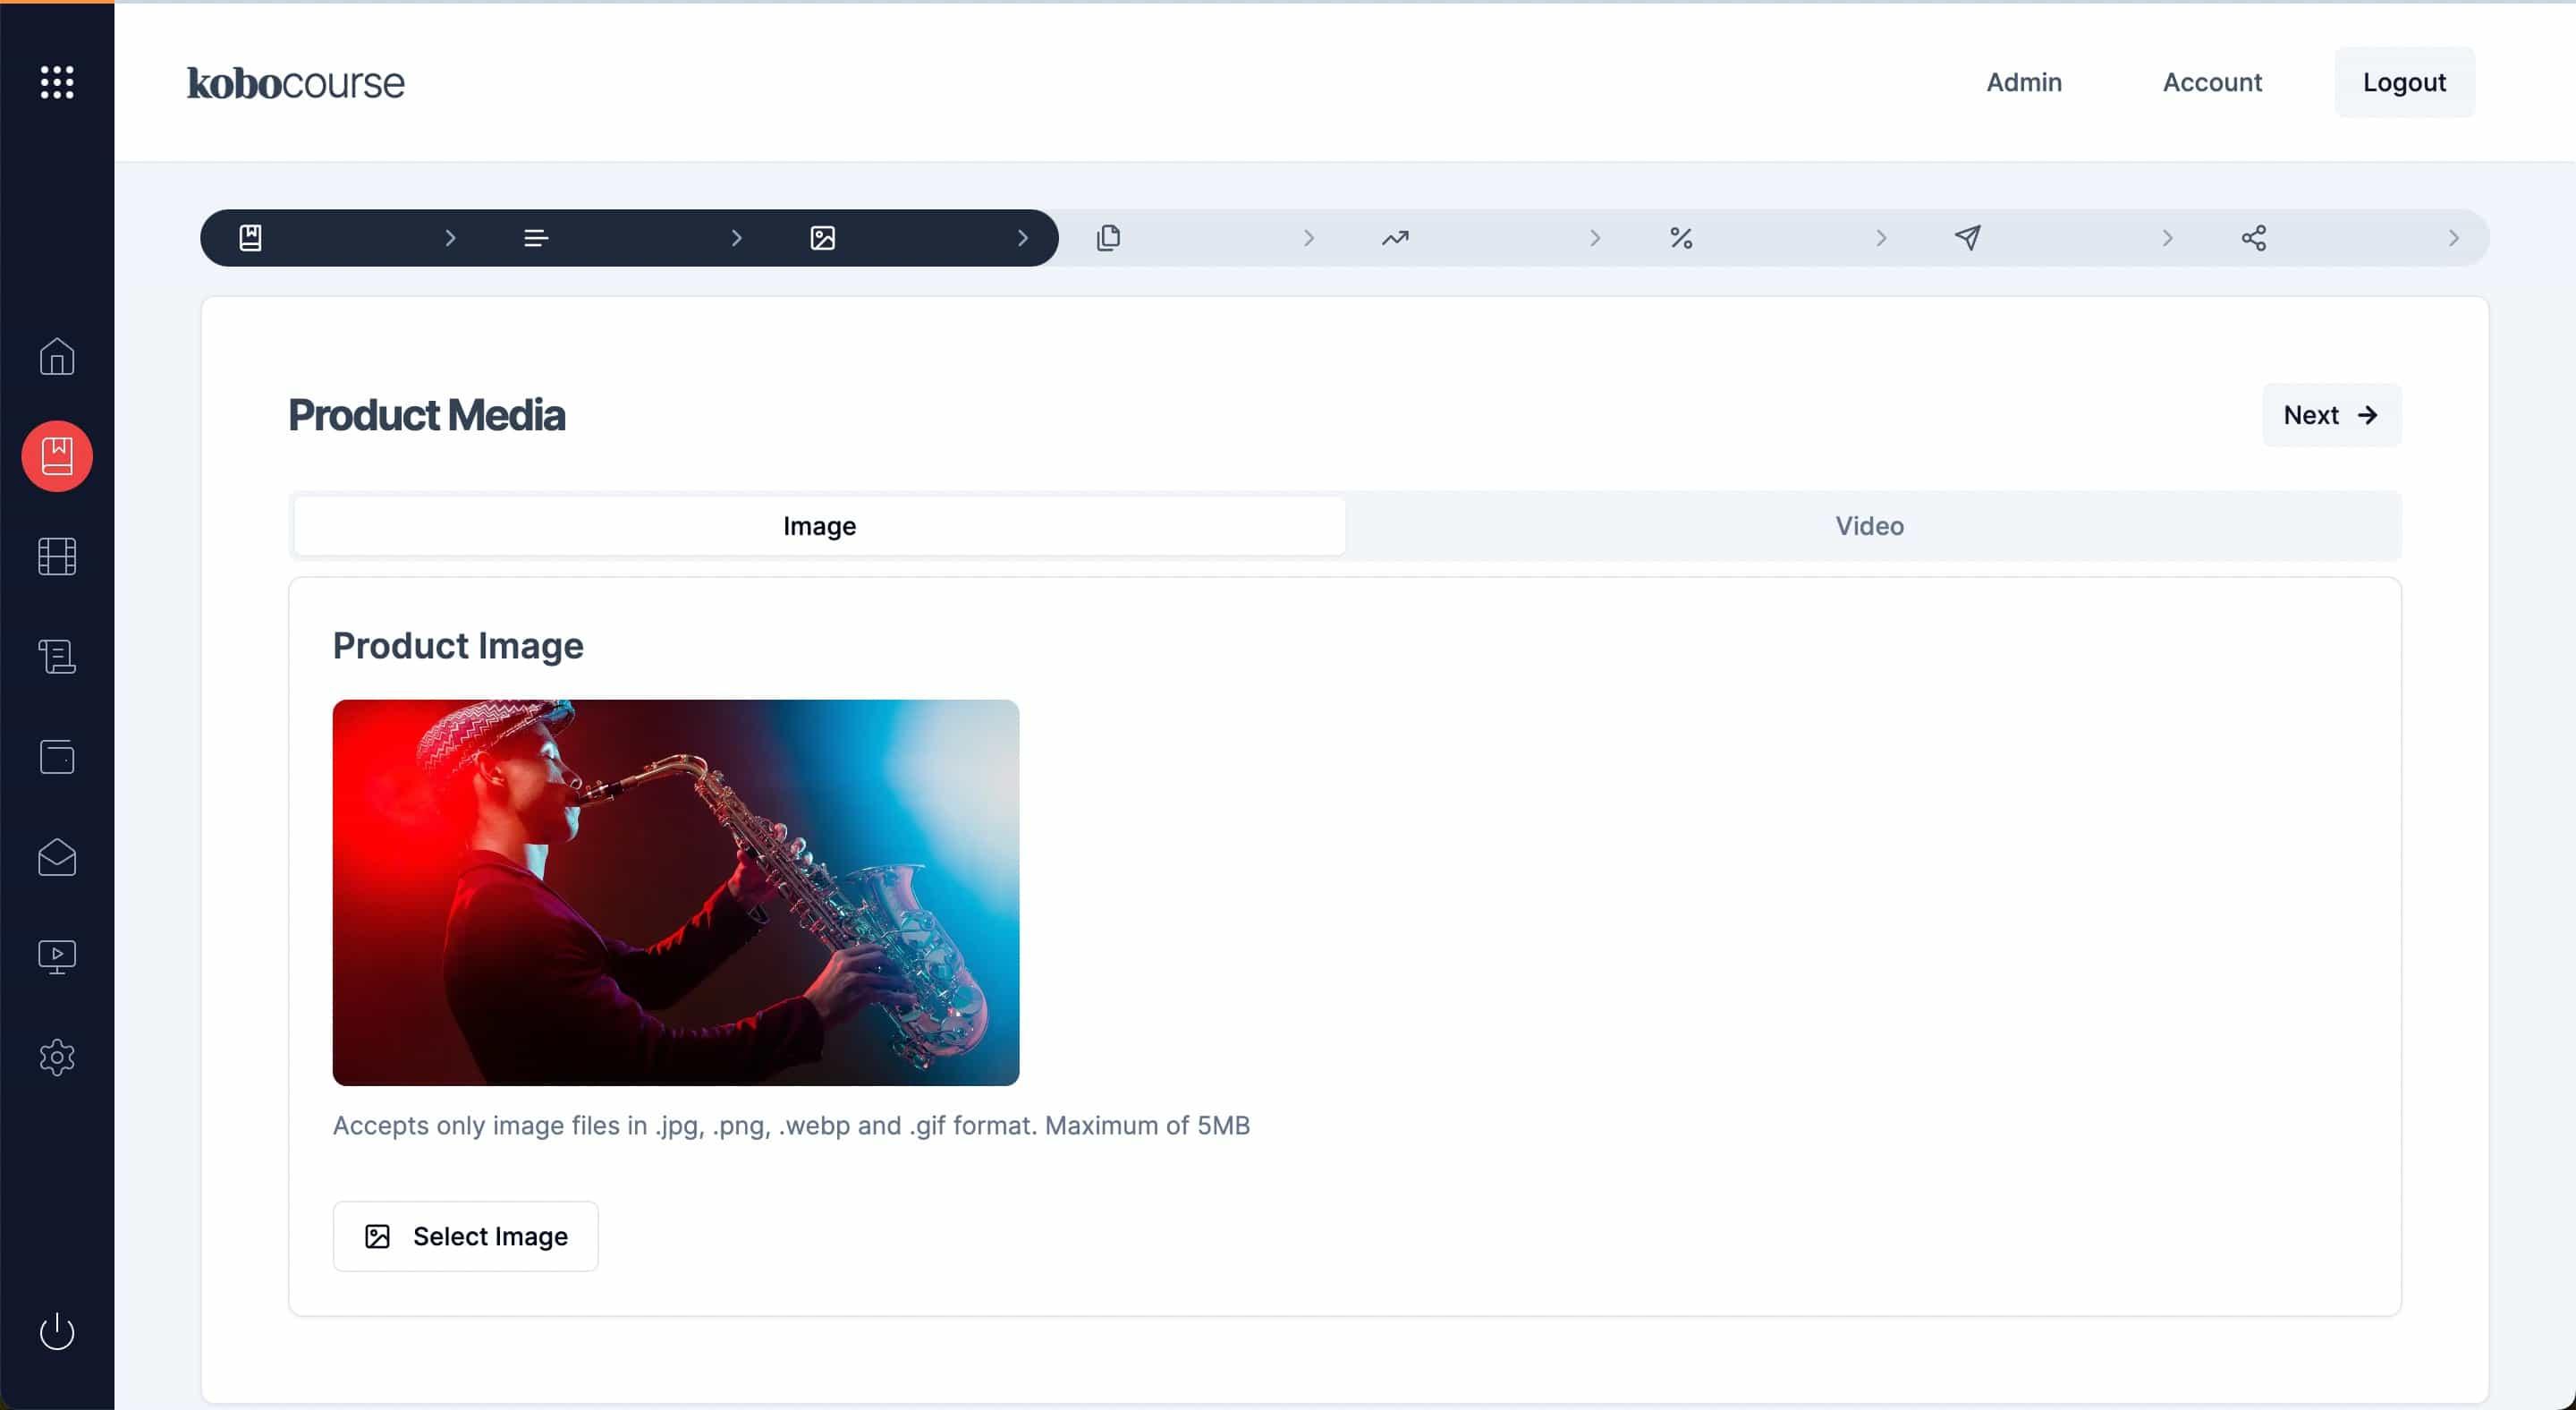
You can upload a product thumbnail or banner image. This is the image your students will see when they view your product. You can either upload an image or video or upload both.
Product specifics
Different informations are required depending on the type of product you are creating. For example, an online course requires specific information such as course module title, description, thumbnail and file while an online coaching gig requires specific details such as the coaching type and availability. Please take a look at the images below.
Here are examples of product specifics for each product
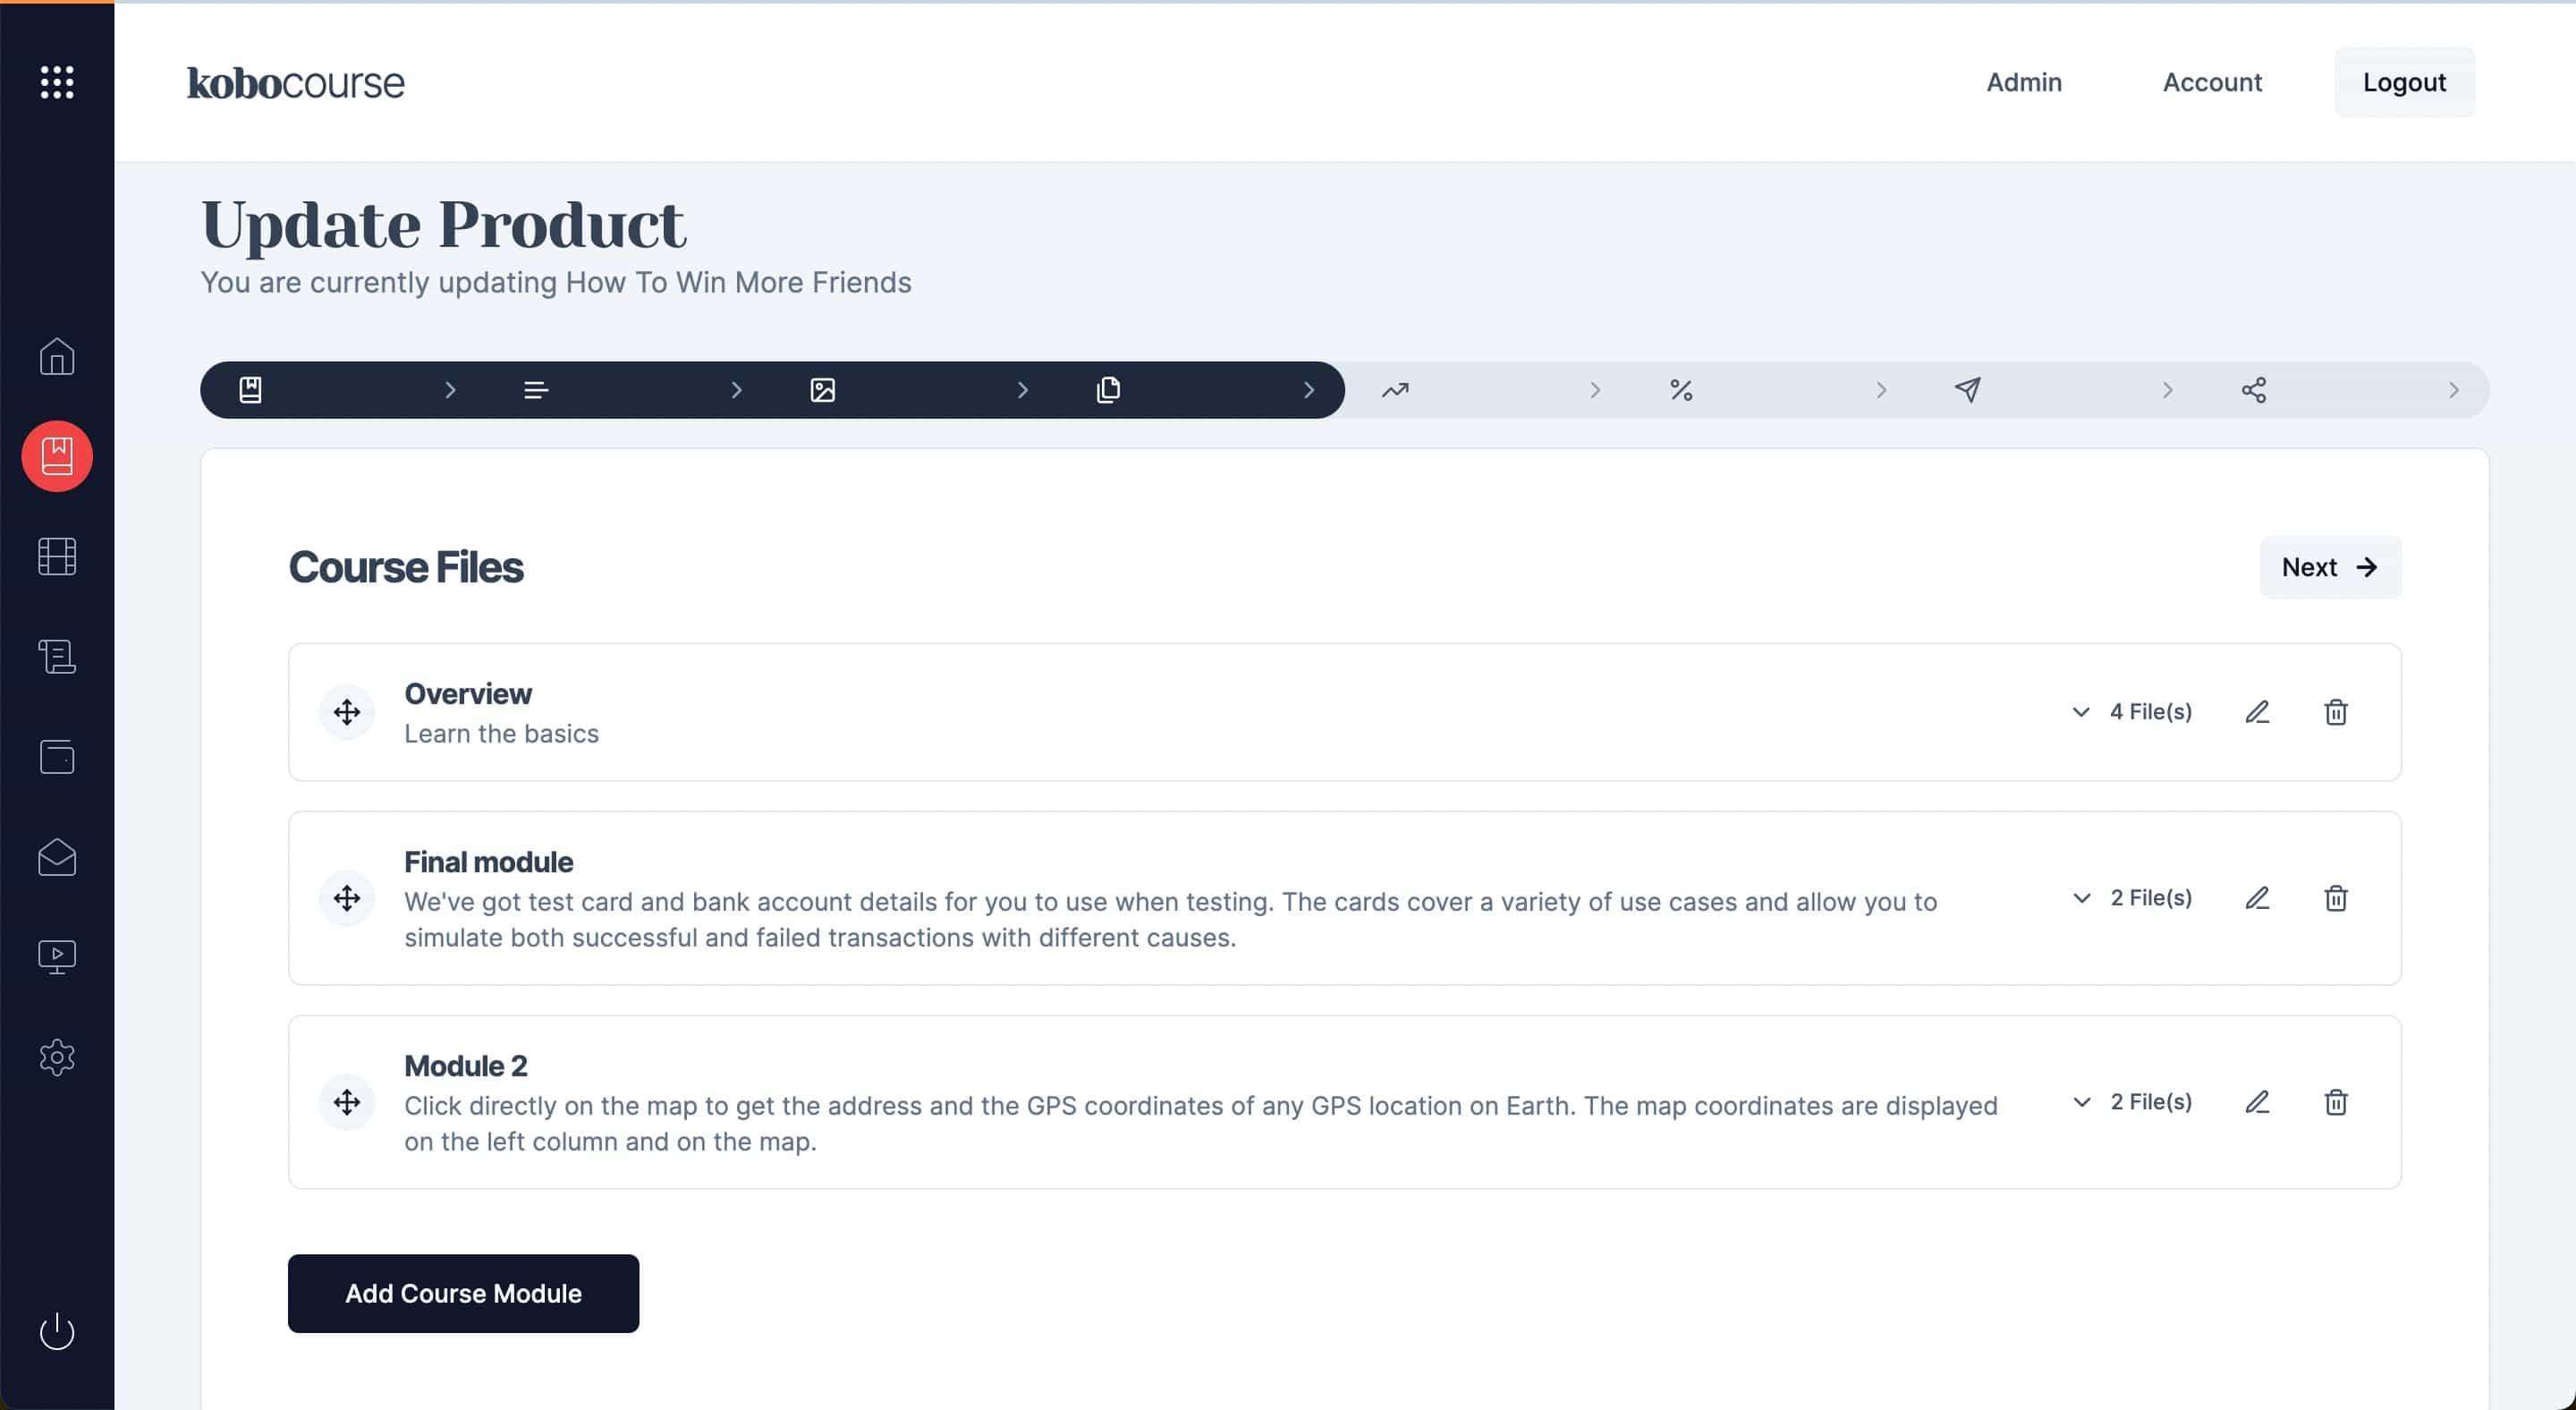
Online Courses
Our online courses helps your organize your course content into modules. Simply click on the Add Course Module button and enter your module title and description
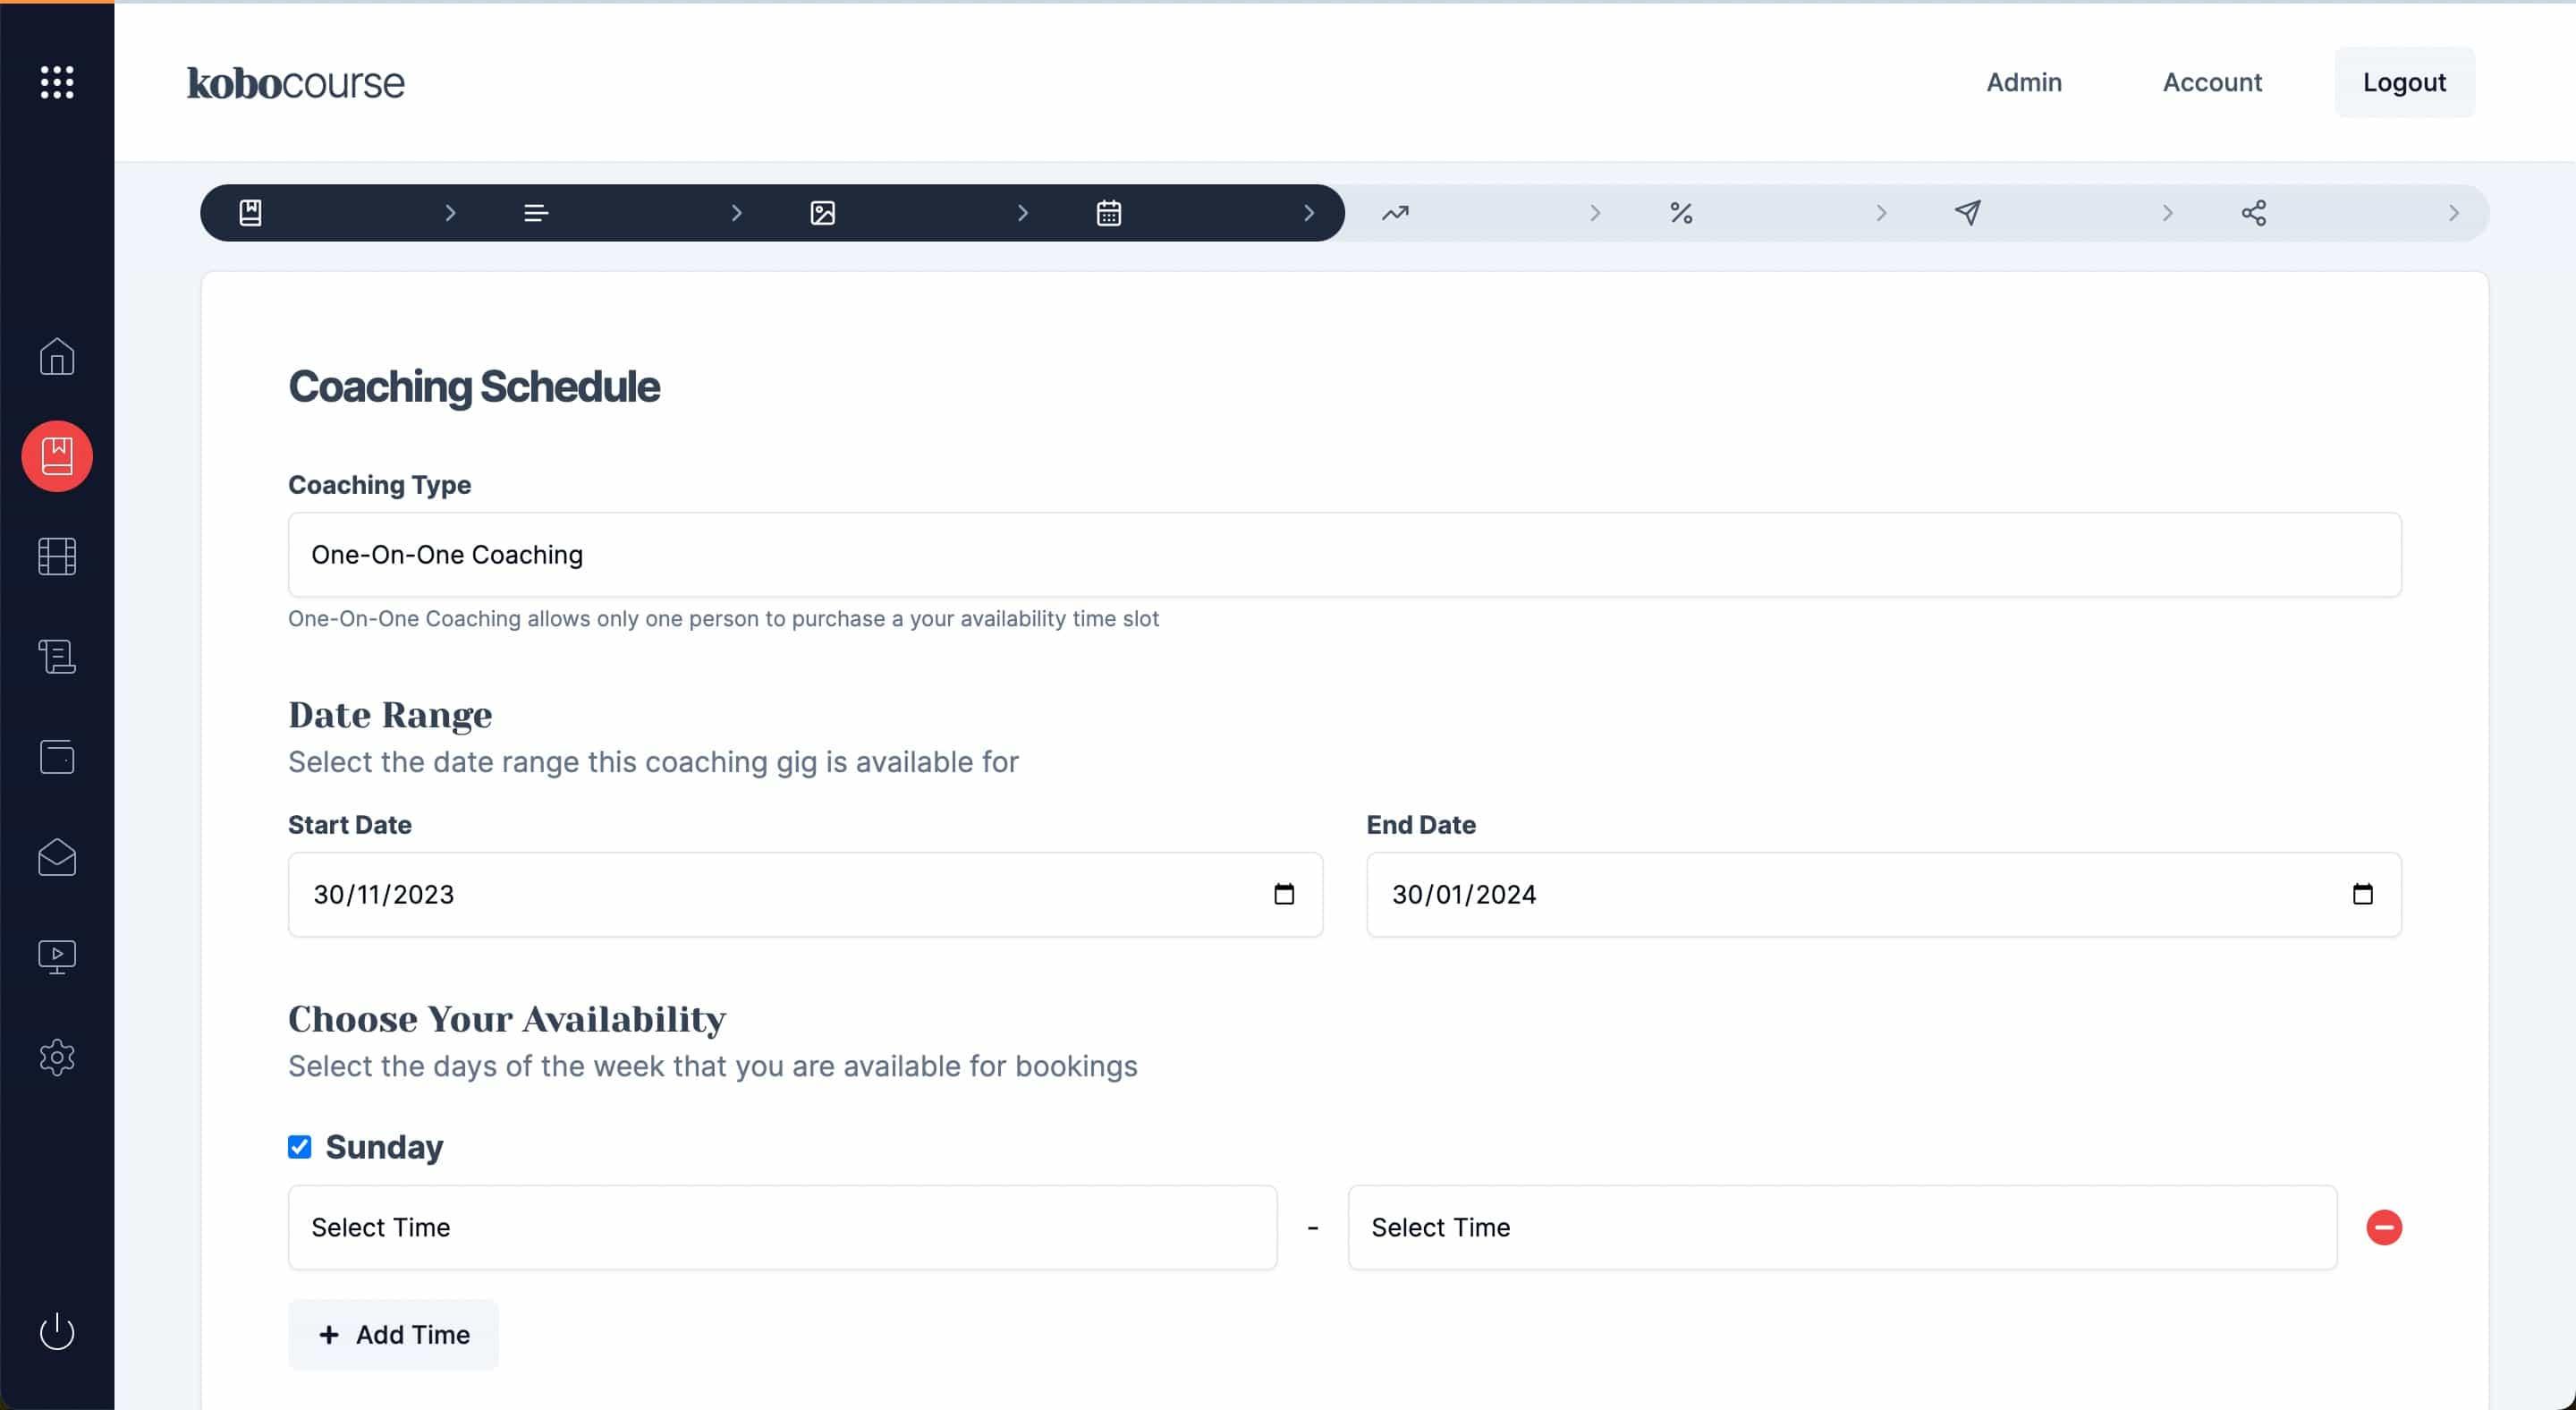
Online Coaching
For online coaching, you will have to specify your type of coaching which can either be one-on-one coaching or group coaching, and also spacify your date range.
To specify your availability, check the days that you will be available then add the time duration for each session. You can add multiple time availabilities.
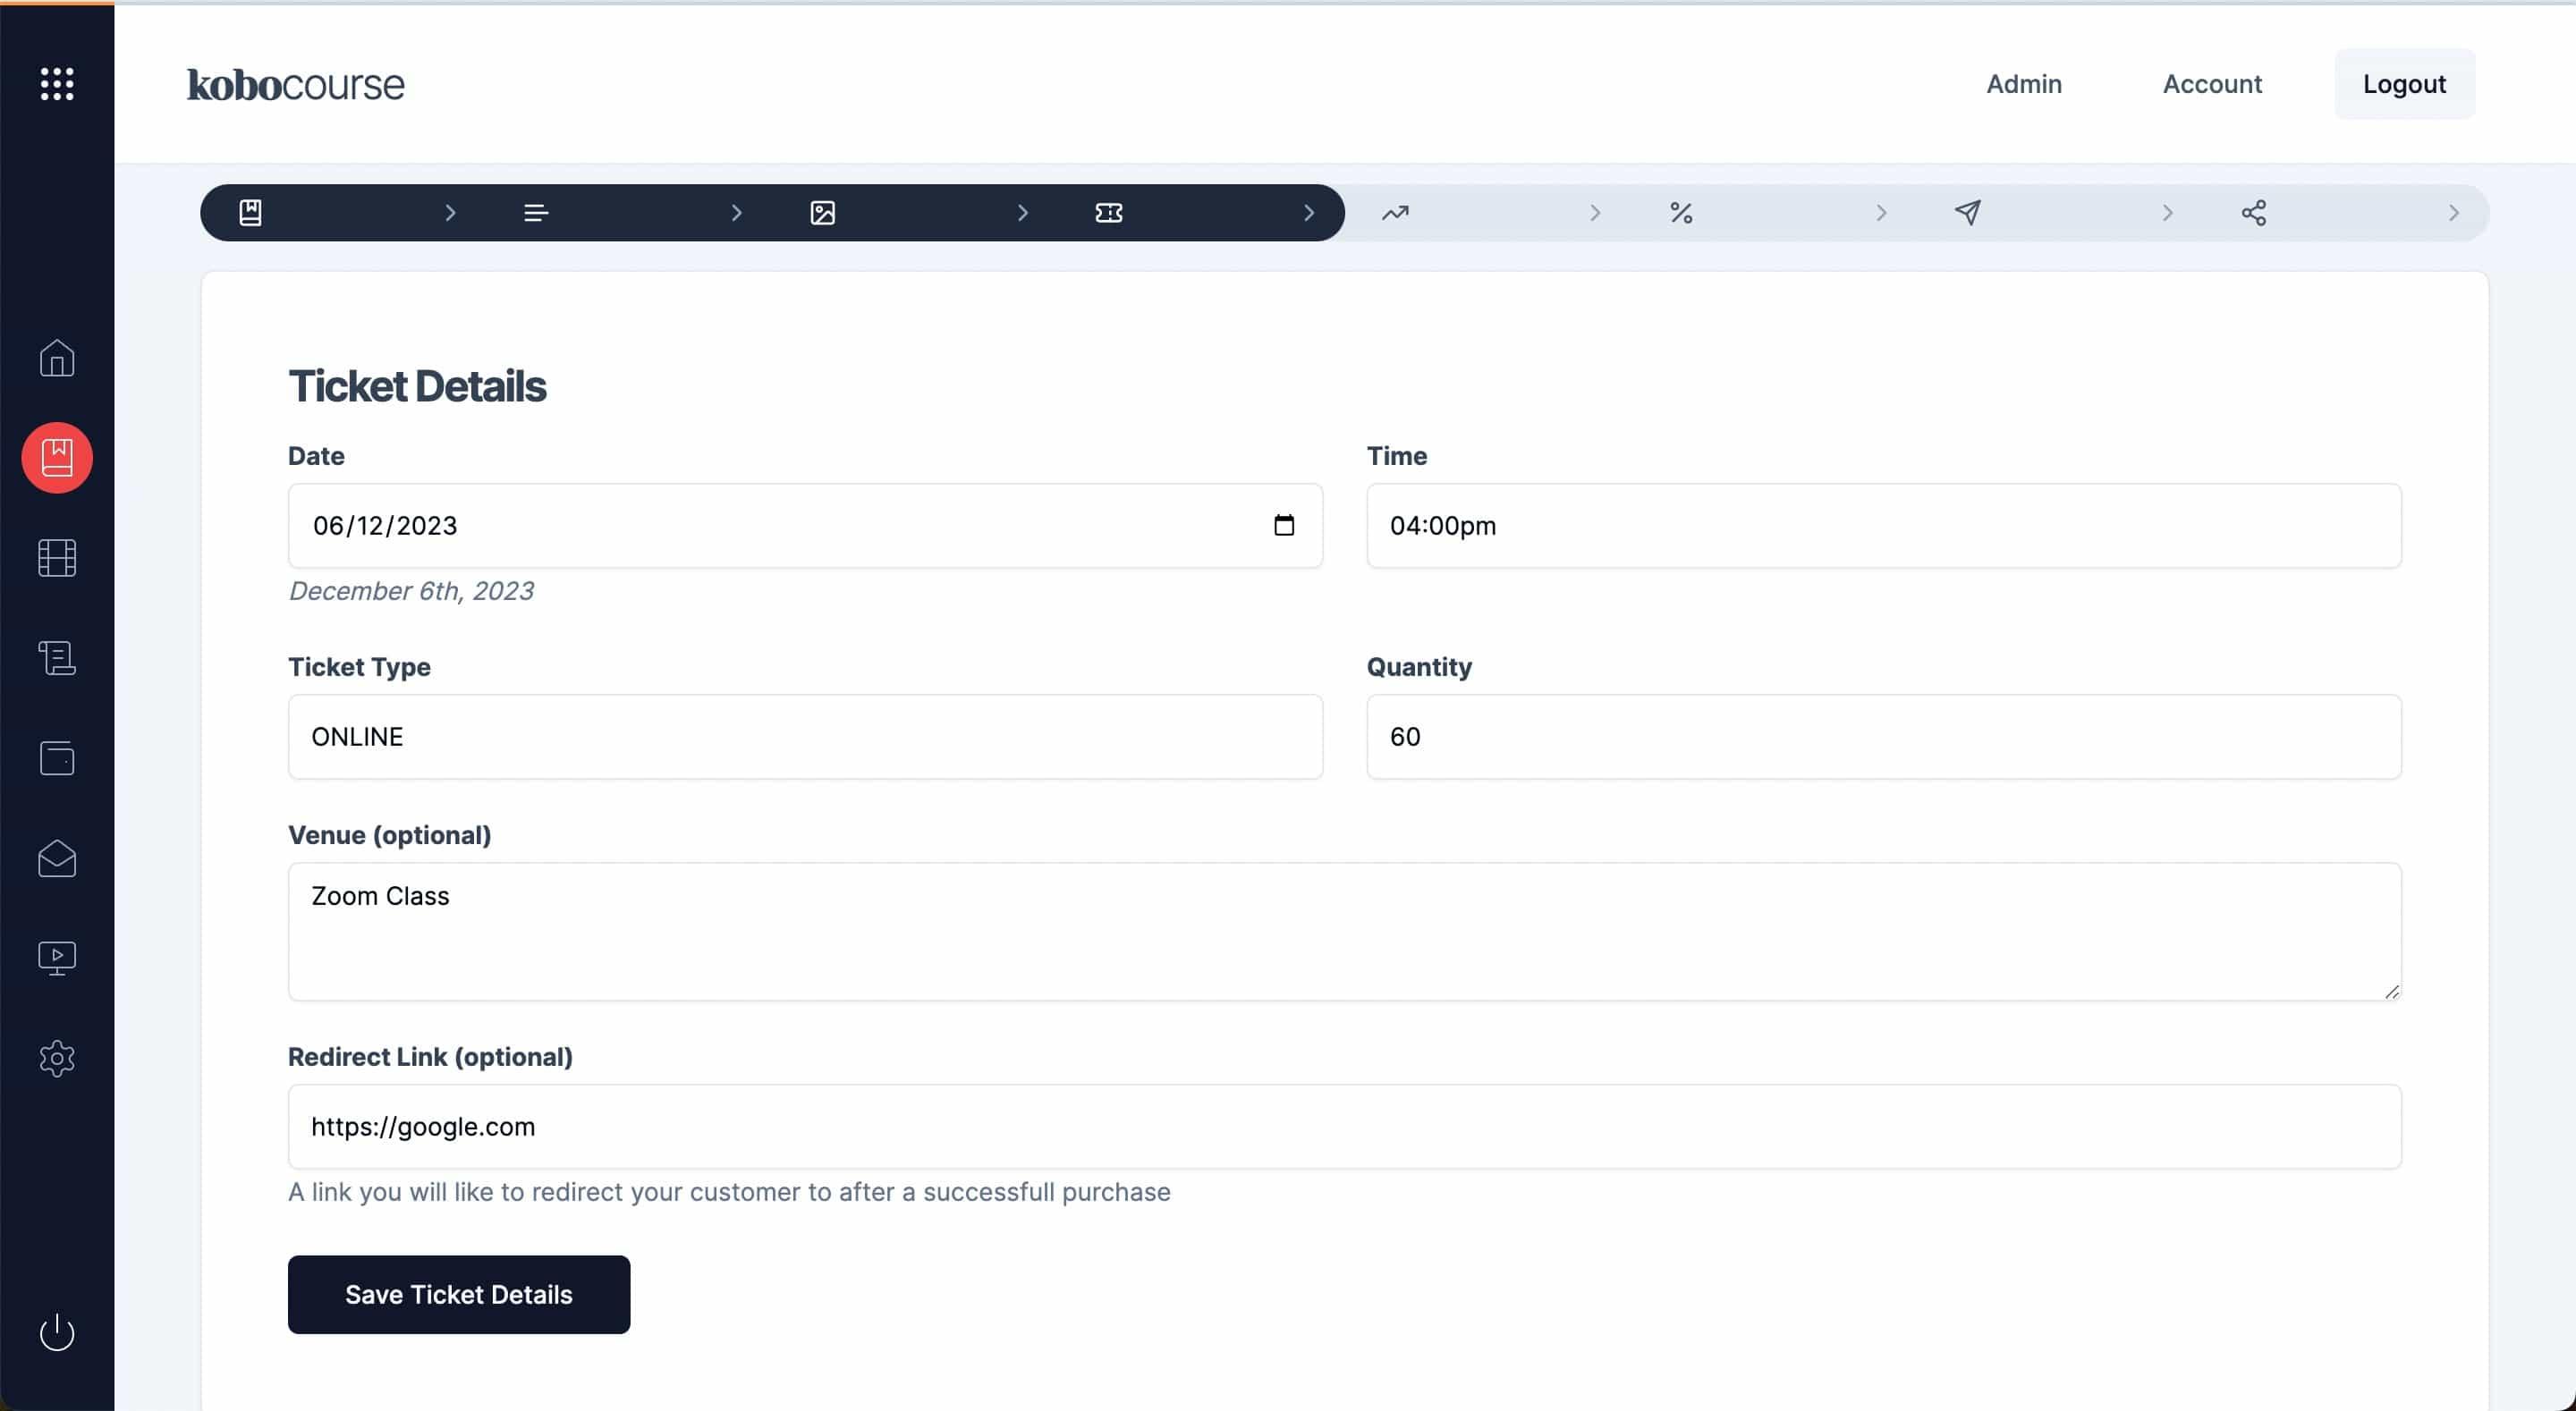
Online Tickets
To set up your online tickets, you will have to provide specific details such as the Date and Time of your event. You will also specify the ticket type, quantity, venue (if available) and a redirect link if you will like your customer to be redirected to another page upon a successful purchase.
Product Upsells
Upsells are a great way to suggest related products to your customers and increase your probability of scoring multiple sales all at once.
To get started, simply check the product you will like to upsell and specify a discounted amount if you want to provide a discount. Providing a discount is a great way to increase the likelyhood of people adding your upsell to their cart.

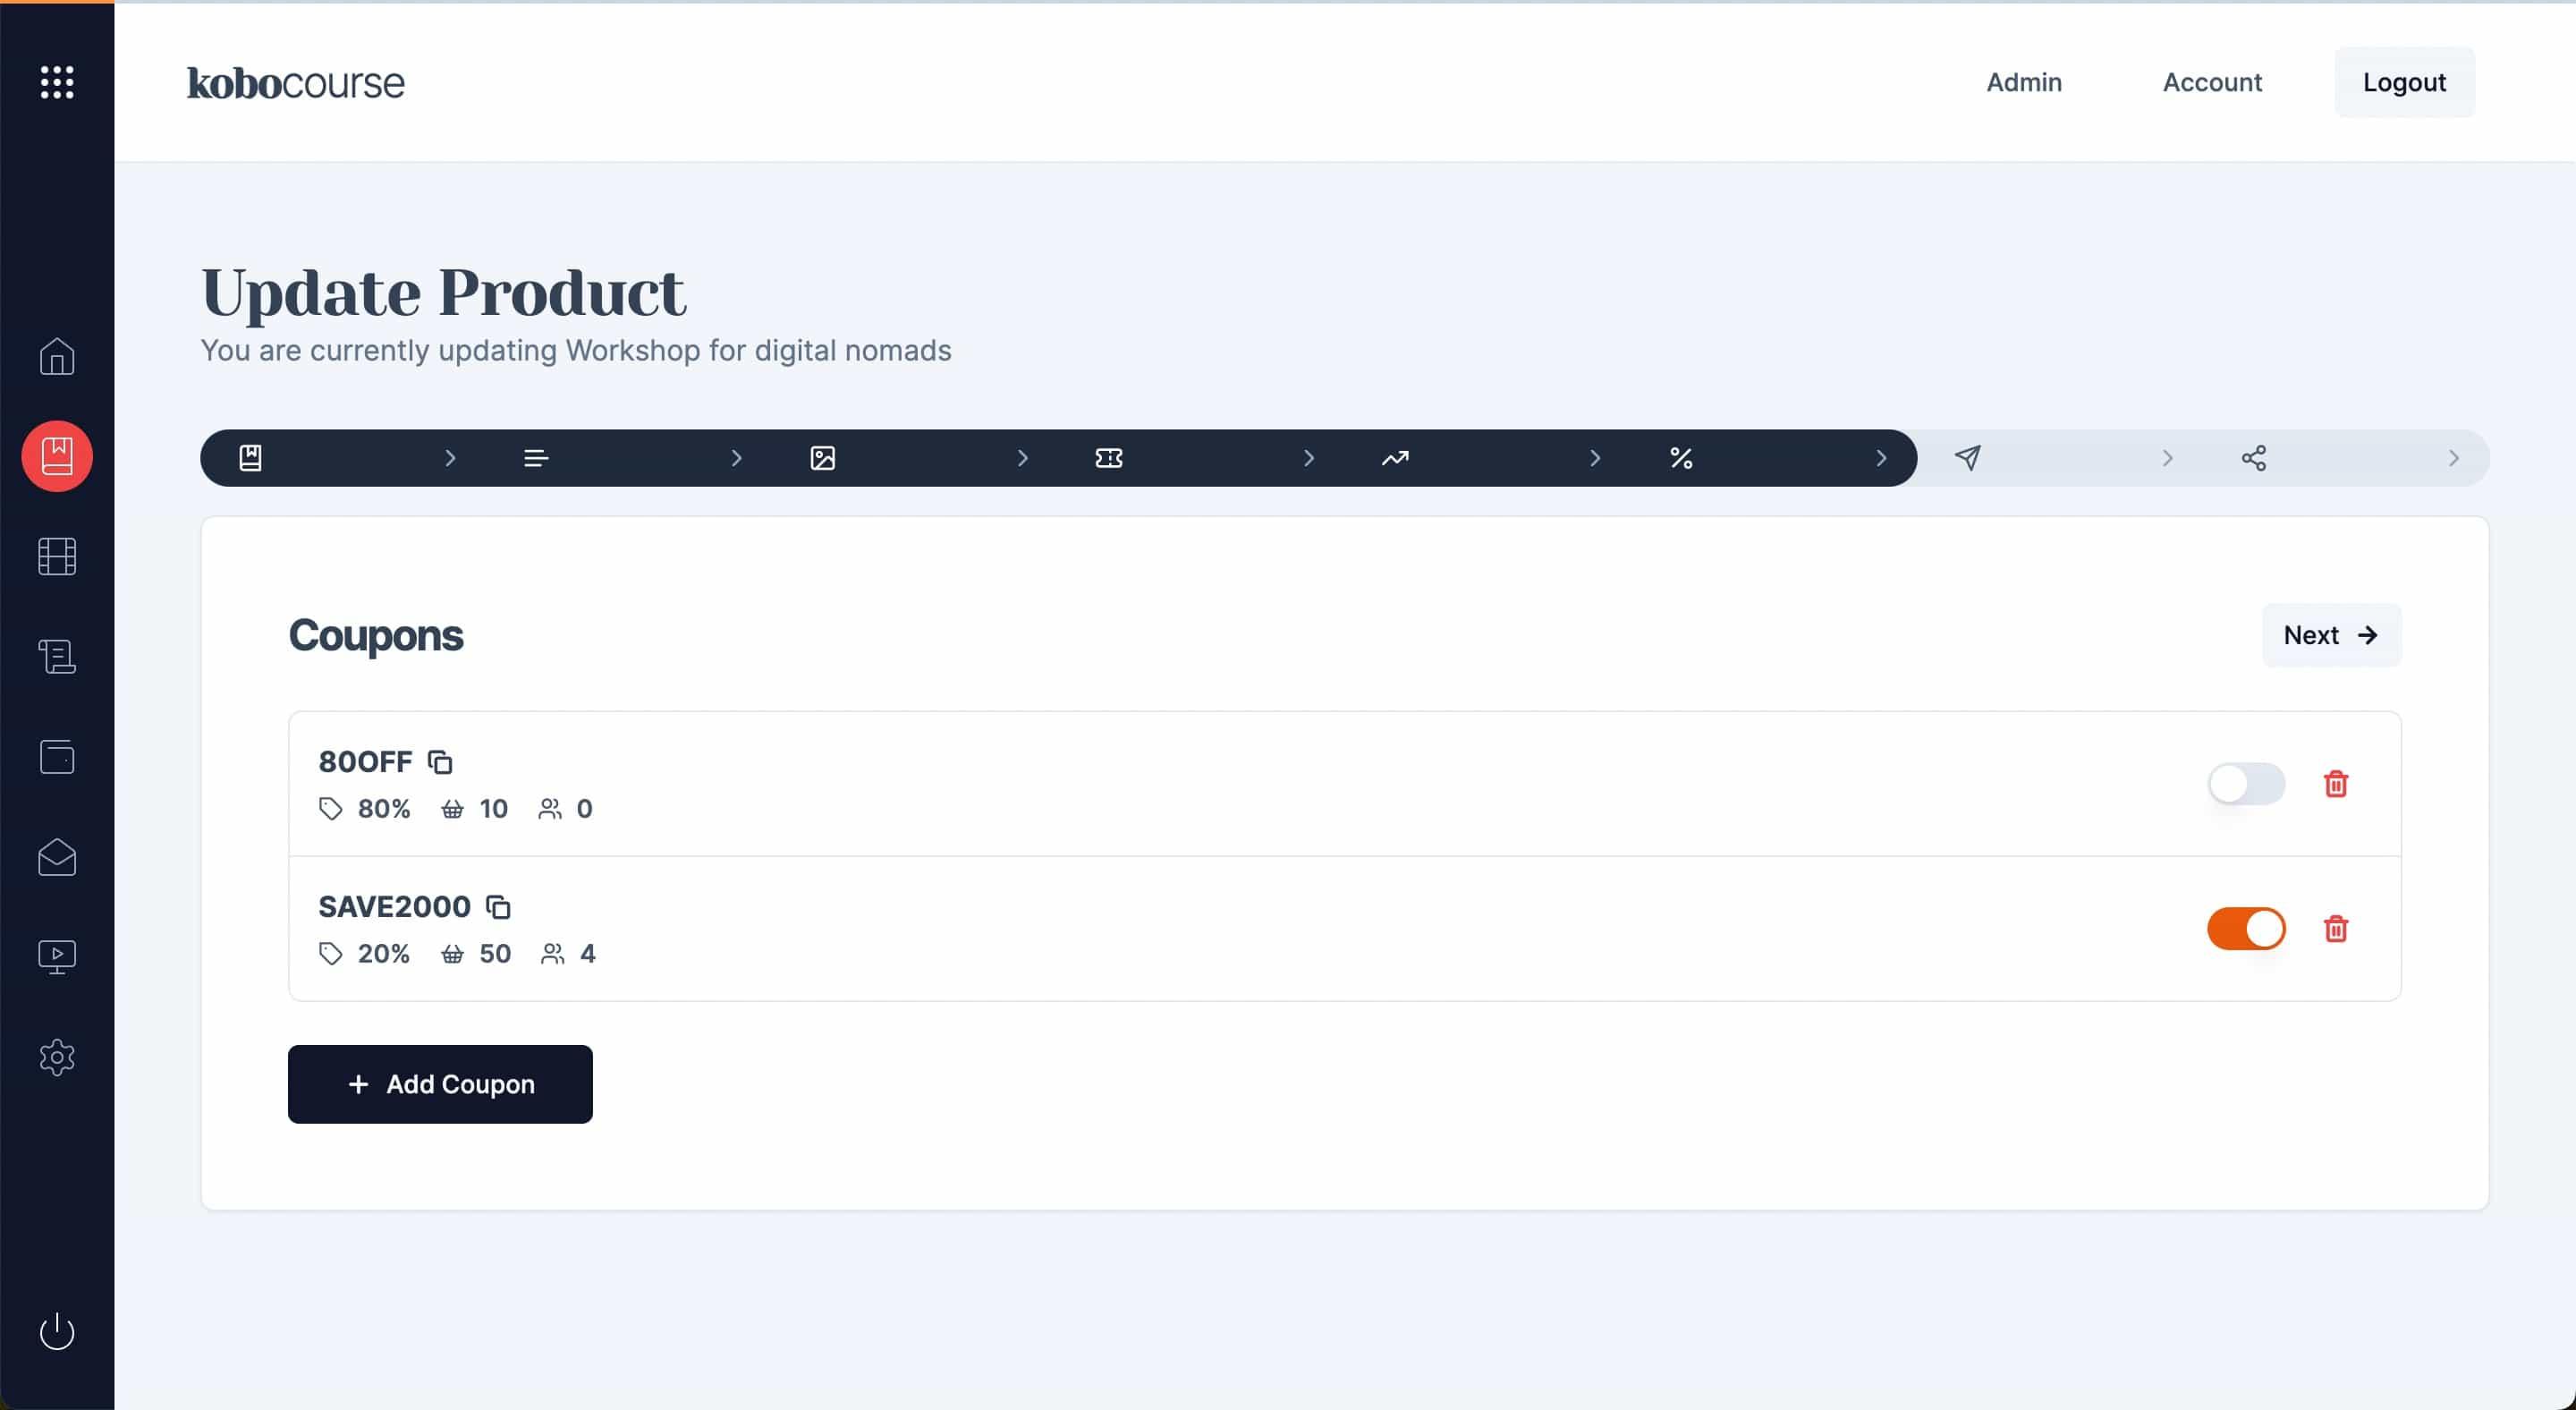
Coupons
Create or select an existing coupon to provide additional discount to your customers.
To get started, simply check the box to activate an existing coupon or click on the Add Coupon button to add a new coupon and activate it on your product.
Auto Response
Auto response is a great way to say thank you when a customers make a purchase of any of your products.
To get started, simply provide your email subject and message body. Make sure you check the box Activate my auto response and then click save response to save it.
Your auto response message will be sent to the customer as soon as they make a successful purchase.

Product Complete
Congratulations, you have successfully created your product on kobocourse.
You can download your unique Qrcode to make it easy for people to scan and find your product or you can copy the direct link to your product and share it on social media.

Stay up to date
Receive specially currated weekly tips on scaling your online coaching, branding and digital marketing to help you increase revenue.